Game Engine (Part 1)
Concepts
We start building a little and generic game engine, making use of some advanced topics from Gravity:
- Threads with Fibers
- Object-oriented programming
- Closures
- Bind
From Creo we use
- Adding Views at runtime
- Timer
- PanGesture
- Sound
- MapView
Pre-requisites
- Being able to create a simple Creo project
- Basic object oriented programming skills are required
Tutorial 1 of 3 goals
- Creating a "game like" updating loop, using Fibers and Closures
- Presenting a generic GameBehaviour Gravity class that can be inherited to build specific game objects
- Creating an animated background using the MapView
Assets
- None
Theory: Closures
A closure is an anonymous function that can be defined and used like a variable; an important aspect of a closure is the possibility to access the scope of the surrounding variables of its definition:
var frame = 0
var update = { frame = frame + 1 }
update()
Console.write(frame)
you can also pass parameters to the closure:
var frame = 0
var update = func(inc) { frame = frame + inc }
update(10)
Console.write(frame)
Please note: when the closure is defined inside a class method and later used to access class methods or properties the implicit self may not be what expected. Use the function bind to avoid this situation:
class Parent {
    var update = null
    var frame = 0

    func init() {
        update = { frame = frame + 1 }.bind(self)
    }
}

...

var Parent()
var update = parent.update
update()
Theory: Fibers
Fibers are user-space threads without a scheduler; a Fiber can yield and resume its execution from the place it has exited. A Fiber is created with create:
 Fiber.create( {
   Console.log("/(self) is the current fiber")
 })
and executed till the next yield with fiber.call():
var closure = {
    Console.log("1")
    Fiber.yield()

    Console.log("2")
    Fiber.yield()

    Console.log("3")
    Fiber.yield()

    Console.log("Done")
}

var fiber = Fiber.create(closure)

fiber.call()
// prints 0

fiber.call()
// prints 1

fiber.call()
// prints 2

fiber.call()
// prints Done

Console.log(fiber.isDone())
// prints true
There are 2 types of yield:
- Fiber.yield() it returns the controll to the function calling call()
- Fiber.yieldWaitTime(seconds) it returns the controll to the function calling call() and also store the current time internally.
The later enable a call check of the total time in seconds passed since last call(). If the time amount is not enough the call is void and the fiber is not entered.
Example:
To implement a function that do some stuff every second, like a timer, a way is to use Fiber.yieldWaitTime(seconds):
var fiber = Fiber.create({
  var keepGoing = true
  while (keepGoing) {
    keepGoing = doSomeStuff()
    Console.write("Waiting")
    Fiber.yieldWaitTime(1.0)
    Console.write("Elapsed time: \(self.elapsedTime())")
  }
})

...
// Note: this strict loop is just for reference, not a real case.
while (!fiber.isDone()) {
  fiber.call()
}
Theory: Bind
In Creo+Gravity there are 2 types of bind methods that can be used.
- is to bind an object event to a function/closure
- is to bind the implicit self of a closure to a value
The first is used when an object (ie a Timer) emit an event like Action and, in response, we need to run our code:
var timer = Timer(1.0/100.0, true)
var action = { Console.log("Timer fired") }
timer.bind("Action", action)
timer.start()

...

"Timer fired" is printed every 0.01 sec
The second use of bind is to ensure the linking of an implicit self, inside a closure, to the needed object. See Closures
Basic game loop
Game objects usually have some kind of logic that needs to be updated each frame to simulate some kind of behaviour. For instance a missile moves a small step toward a direction each frame; we want this update to be called as often as possible to generare as much frames as possible. The more frames per second we have the better feeling a game produces for the player and the place where this updating is done is usually called game loop.
Inside Creo there is no such loop, so we have to create our own. At the core of our game engire there is a Timer fired every 0,01 seconds. The idea behind is to register a Fiber for each "game objects update function" and execute it from the timer function. By calling it so often we can simulate movements or other complex beheaviours.
Note: Gravity/Creo has no Fiber scheduler integrated, this is why we need to simulate one using a timer.
Class Fibers
Our first class is used to:
- Store all fibers created by the game logic.
- Execute all of them each time the timer is fired.
Once a fiber isDone() is removed from the array and no longer called.
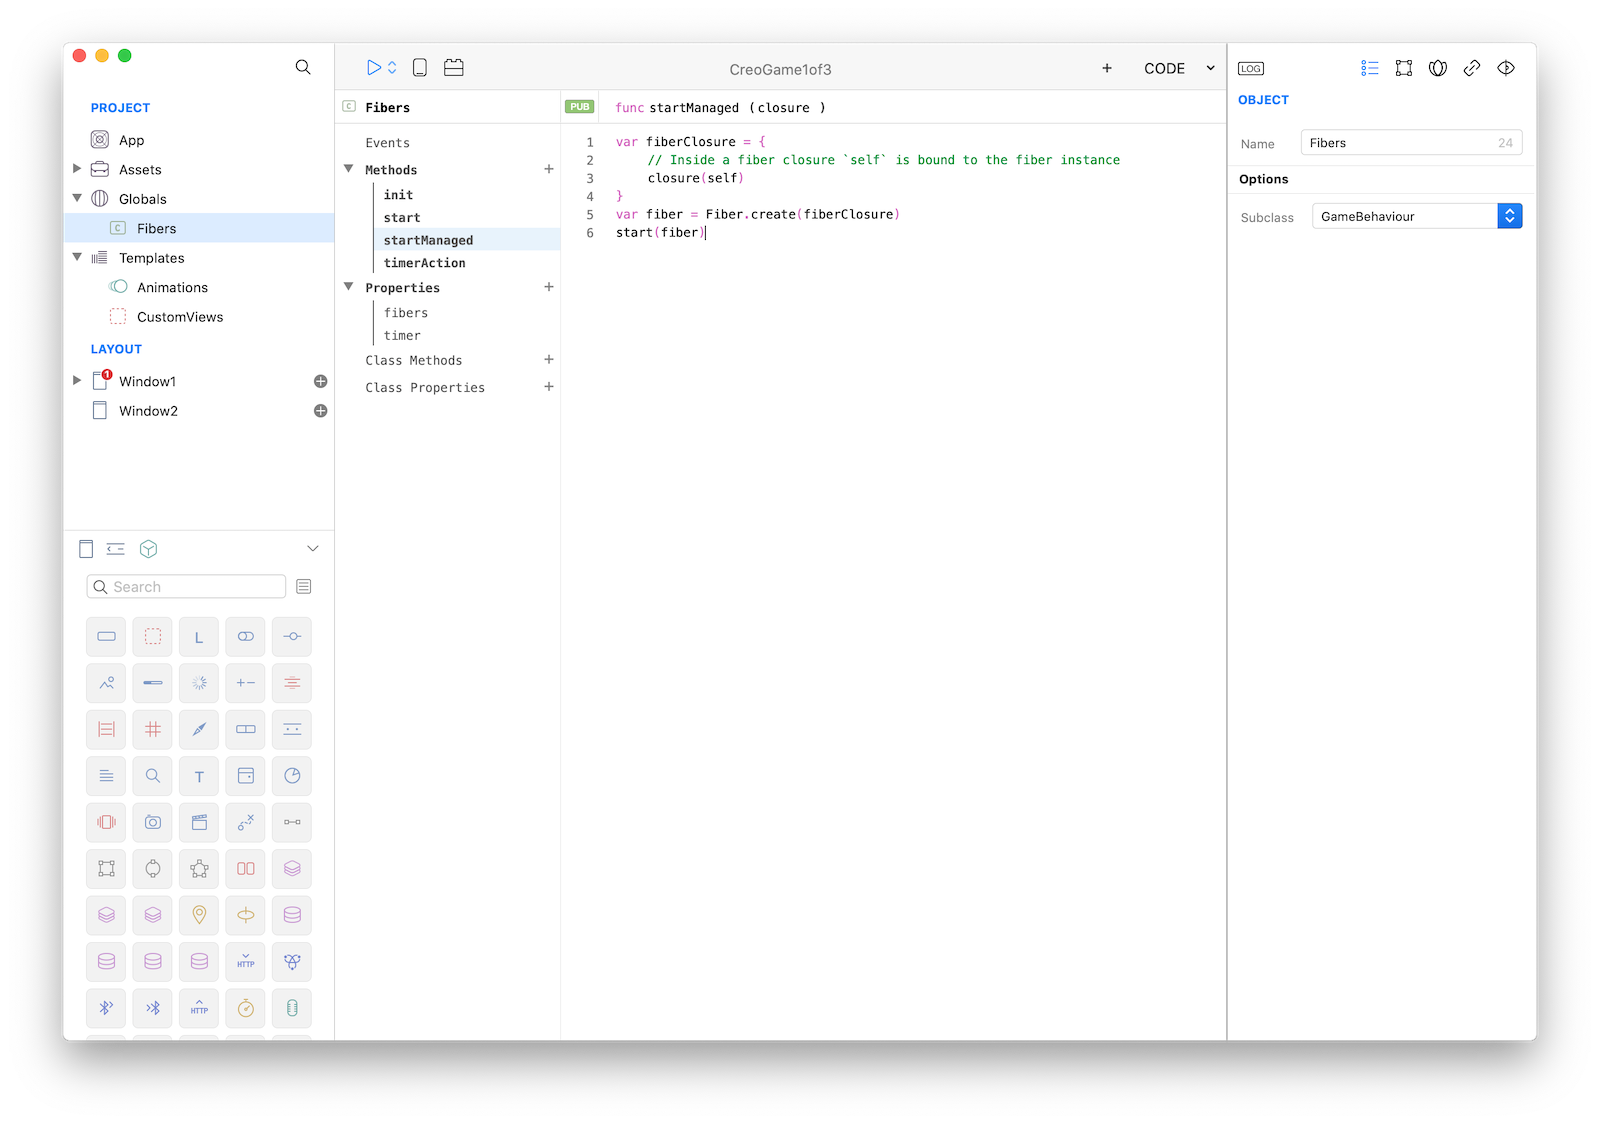
The main method to add a new fiber is startManaged(closure) and the parameter is the Fiber closure.
Note: the closure has to be a function that accept a parameter because it will receive the fiber associated as a parameter.
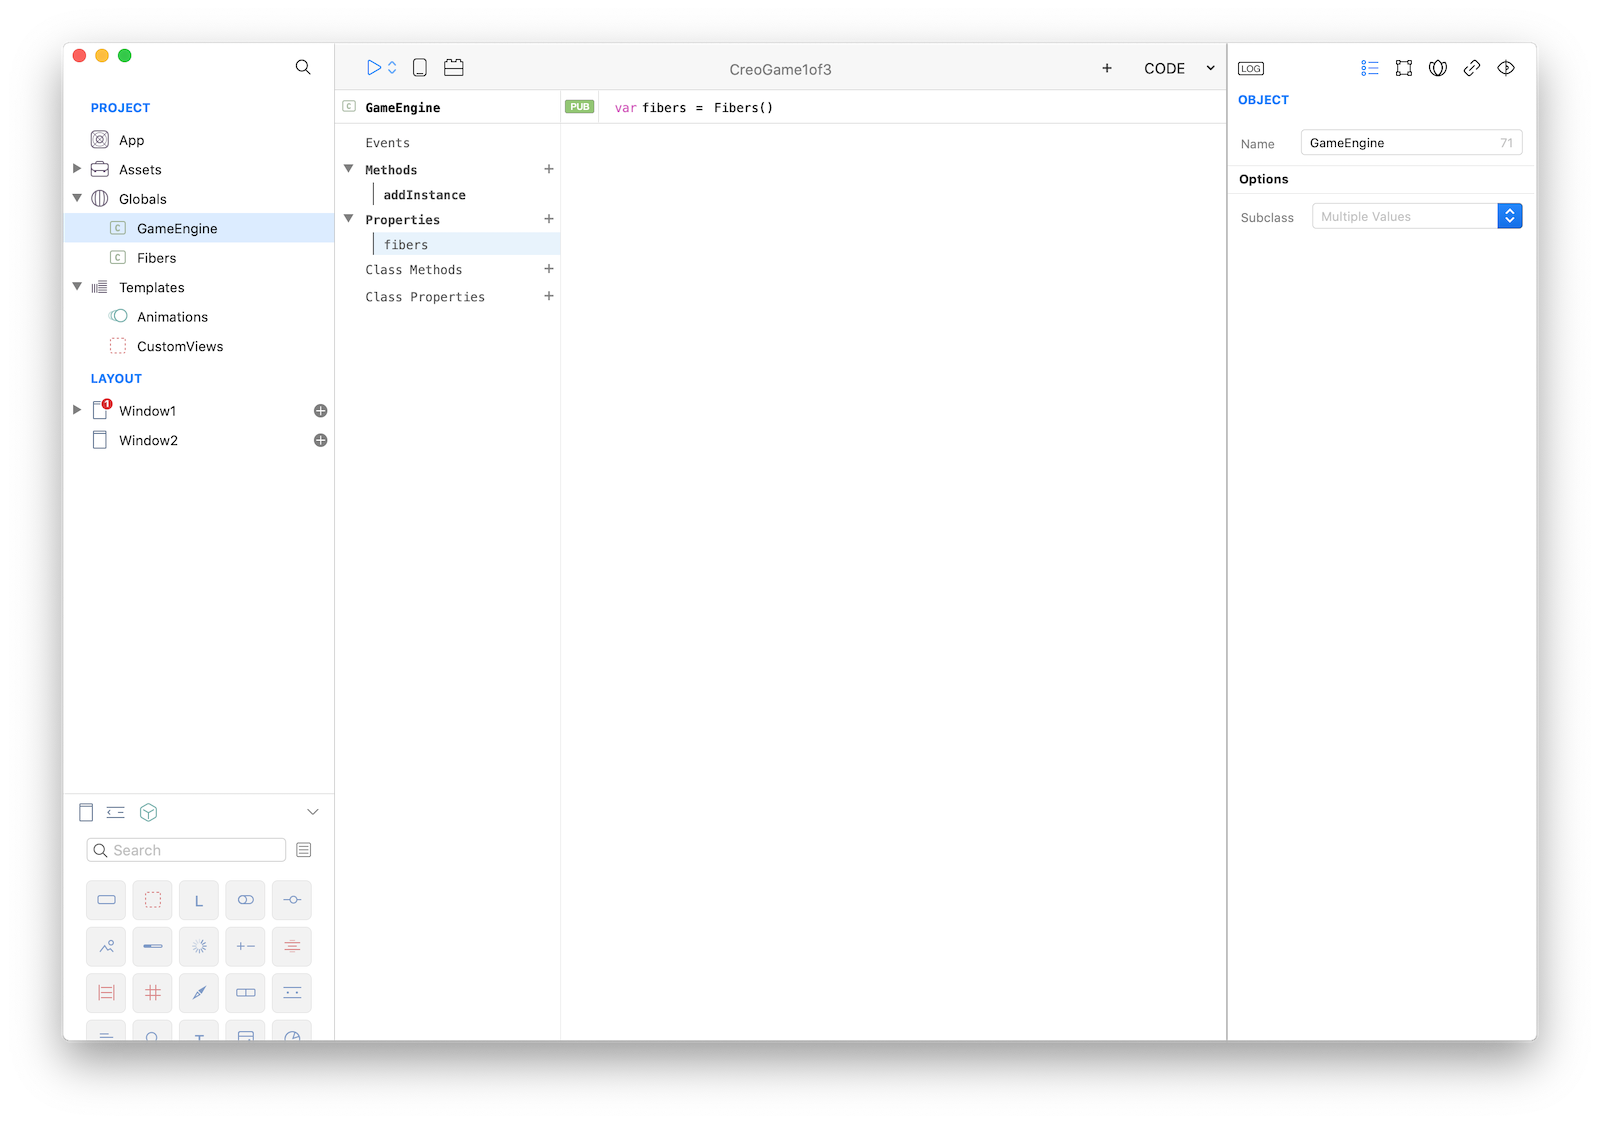
To create new class:
-
Drag
Classobject from the Objects Panel to theGlobalsnode in the Layout: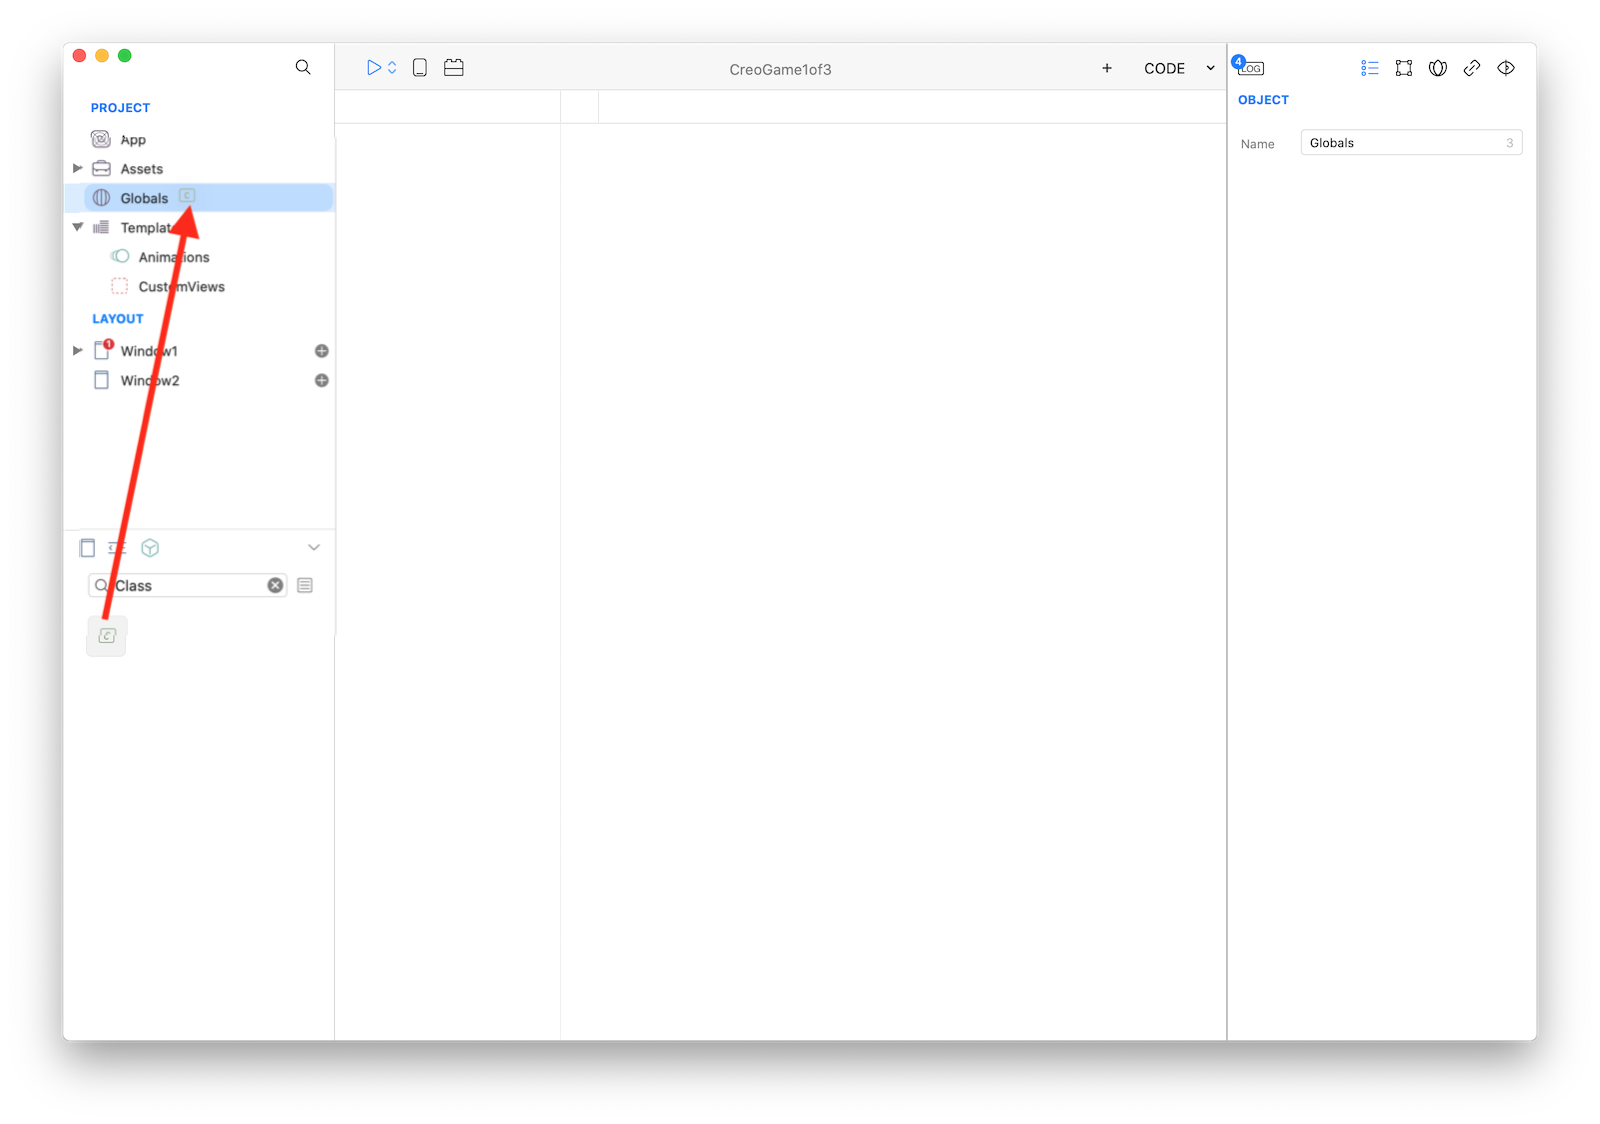
-
Rename the new class to
Fiber: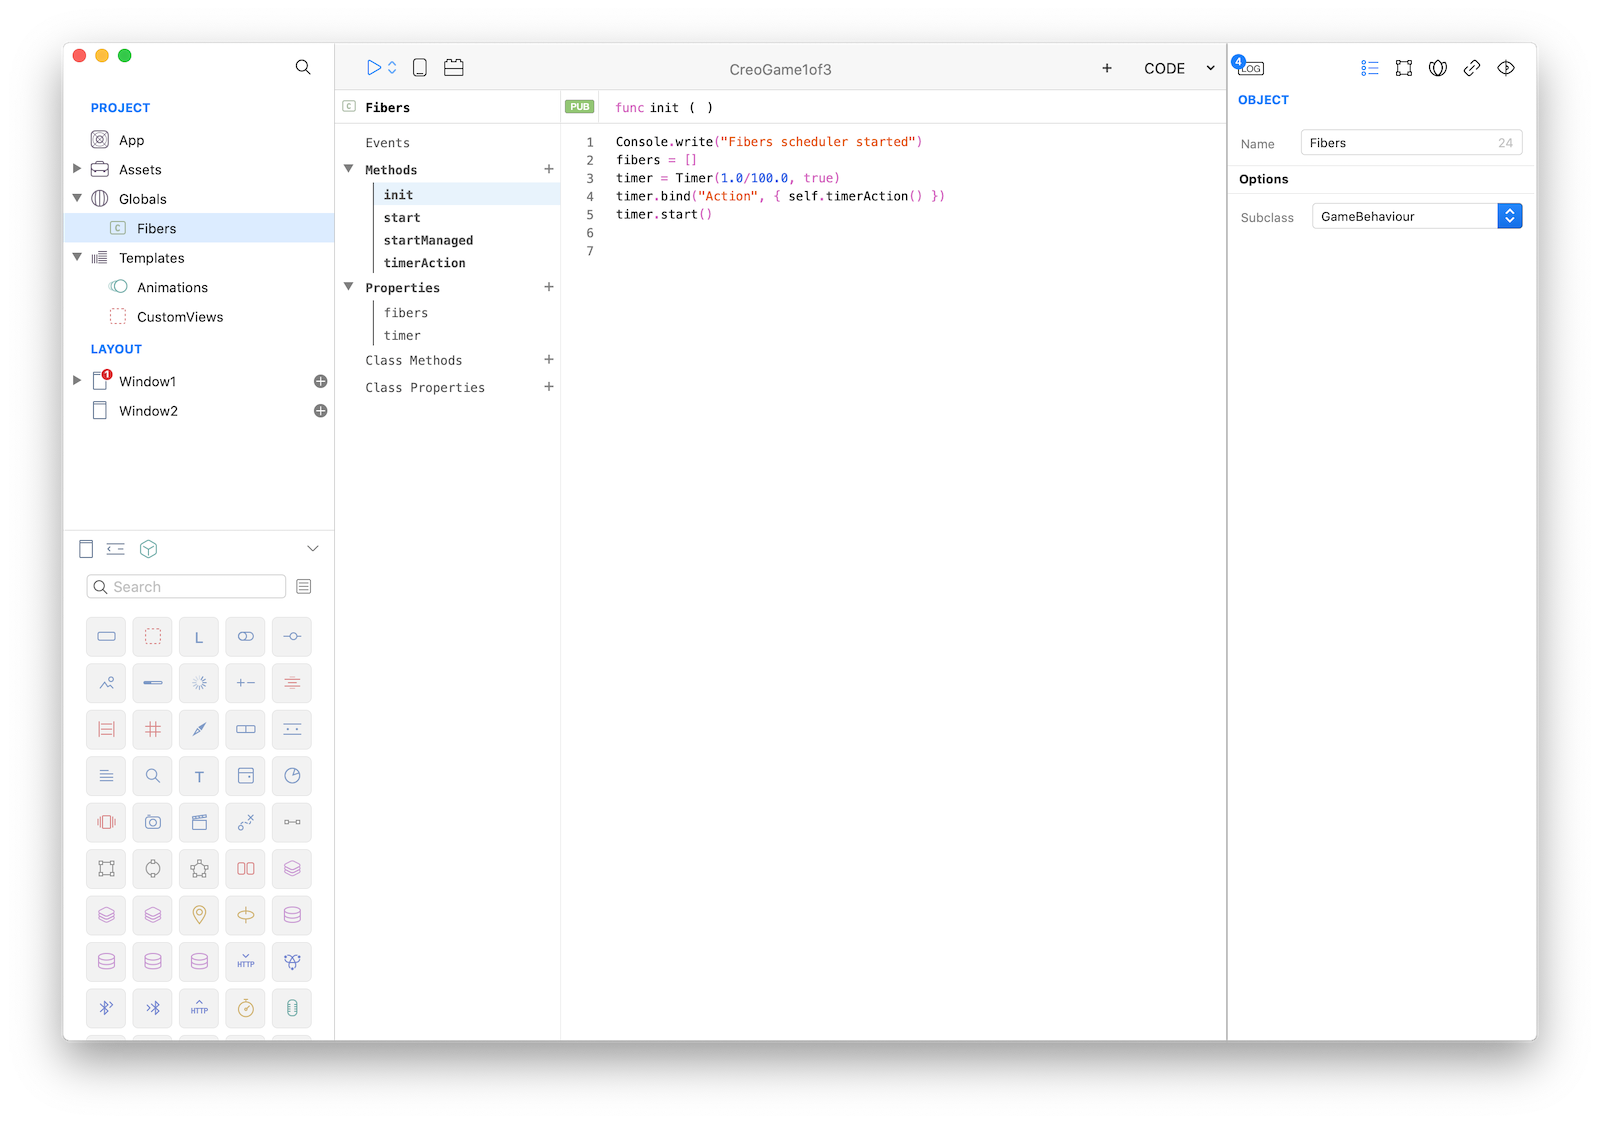
-
Add the
fibersandtimerproperties and theinit,start(fiber),startManaged(closure)func timerAction()methods. Add to each method the corresponding snipped from the following code:
class Fibers {
  public var fibers
  public var timer

  func init() {
    Console.write("Fibers scheduler started")
    fibers = []
    timer = Timer(1.0/100.0, true)
    timer.bind("Action", { self.timerAction() })
    timer.start()
  }

  private func start(fiber) {
    fibers.push(fiber)
  }

  func startManaged(closure) {
    var fiberClosure = {
      // Inside a fiber closure `self` is bound to the fiber instance
      closure(self)
    }
    var fiber = Fiber.create(fiberClosure)
    start(fiber)
  }

  private func timerAction() {
    var remove = []
    var index = 0

    for (var fiber in fibers) {
        var status = fiber.isDone()

        if (status == false) {
            fiber.call()
        } else {
            remove.push(index)
        }

        index = index + 1
    }

    while (remove.count != 0) {
        fibers.remove(remove.pop())
    }
  }
}
GameEngine
To store an instance of the new Fibers class and create the base for a game loop we add a new class called GameEngine. It offers the main method to add fibers through a new class called GameBehaviour.
class GameEngine {
  public var fibers = Fibers();

  // instance must be a GameBehaviour object
  func addInstance(instance) {
    var closure = func(fiber) {
        instance.engine = self
        instance.start()
        Fiber.yieldWaitTime(0.0)

        while (instance.destroy === false) {
            Fiber.yieldWaitTime(1.0/100.0)
            instance.time.deltaTime = fiber.elapsedTime()
            instance.update()
        }

        instance.onDestroy()
    }
    fibers.startManaged(closure)
  }
}
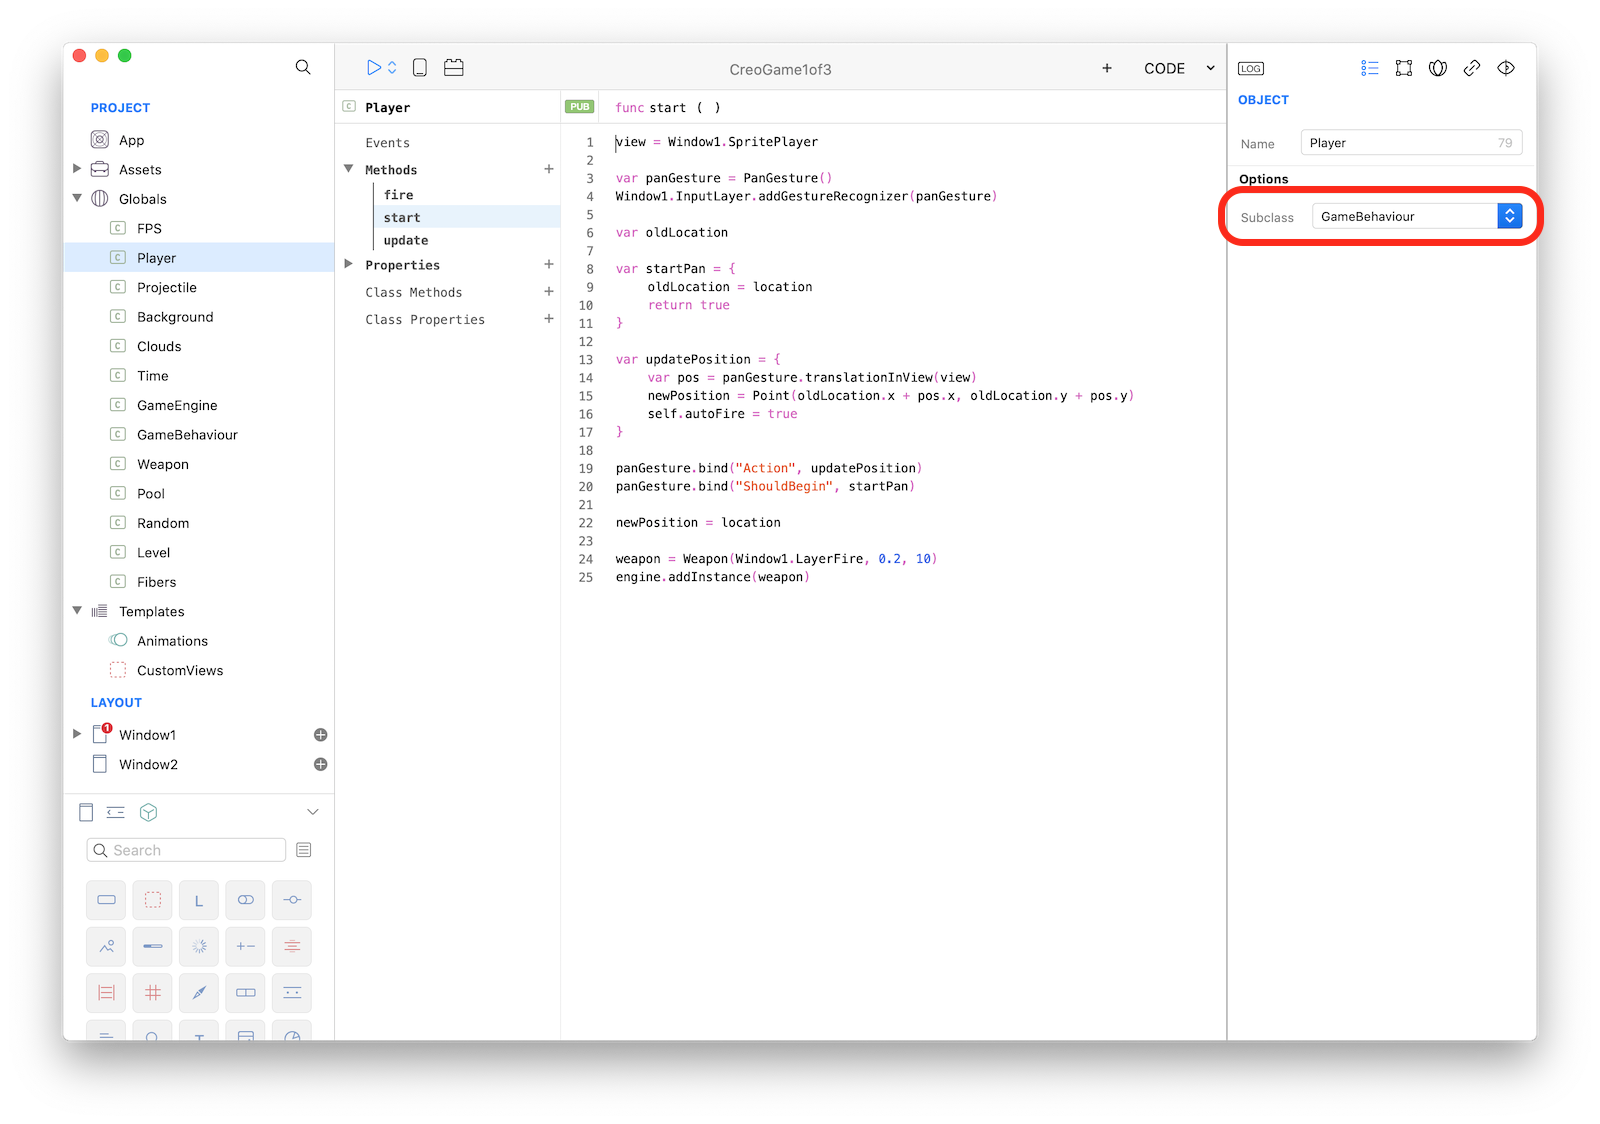
GameBehaviour
A GameBehaviour is the base class from which every game object derives. It's usually connected to a View but is not necessary; for instance a behaviour could play a sound or do other things that do not require a view.
When you use GameBehaviour you have to explicitily derive from it
The GameBehaviour has 3 important methods:
startis called byGameEngineonce on the frame before theupdatefunctions is called the first timeupdateis called every frame until the flagdestroyis set totrueonDestroyis called once when the the flagdestroyis set
class GameBehaviour {
// Set to true to kill this behaviour
public var destroy=false;
// The parent `GameEngine` instance
public var engine;
public var location {
get {
var hw = view.frame.width / 2.0
var hh = view.frame.height / 2.0
return Point(view.frame.x + hw, view.frame.y + hh);
}
set {
var hw = view.frame.width / 2.0
var hh = view.frame.height / 2.0
view.frame.x = value.x - hw;
view.frame.y = value.y - hh;
}
};
// helper variable to interact with time
public var time=Time();
// the associated View (if present)
public var view = null;
// called once, use it to initialize your View and stuff
func start() {
}
// called every frame
func update() {
}
// called when `destroy = true`
func onDestroy() {
Console.write("onDestroy")
}
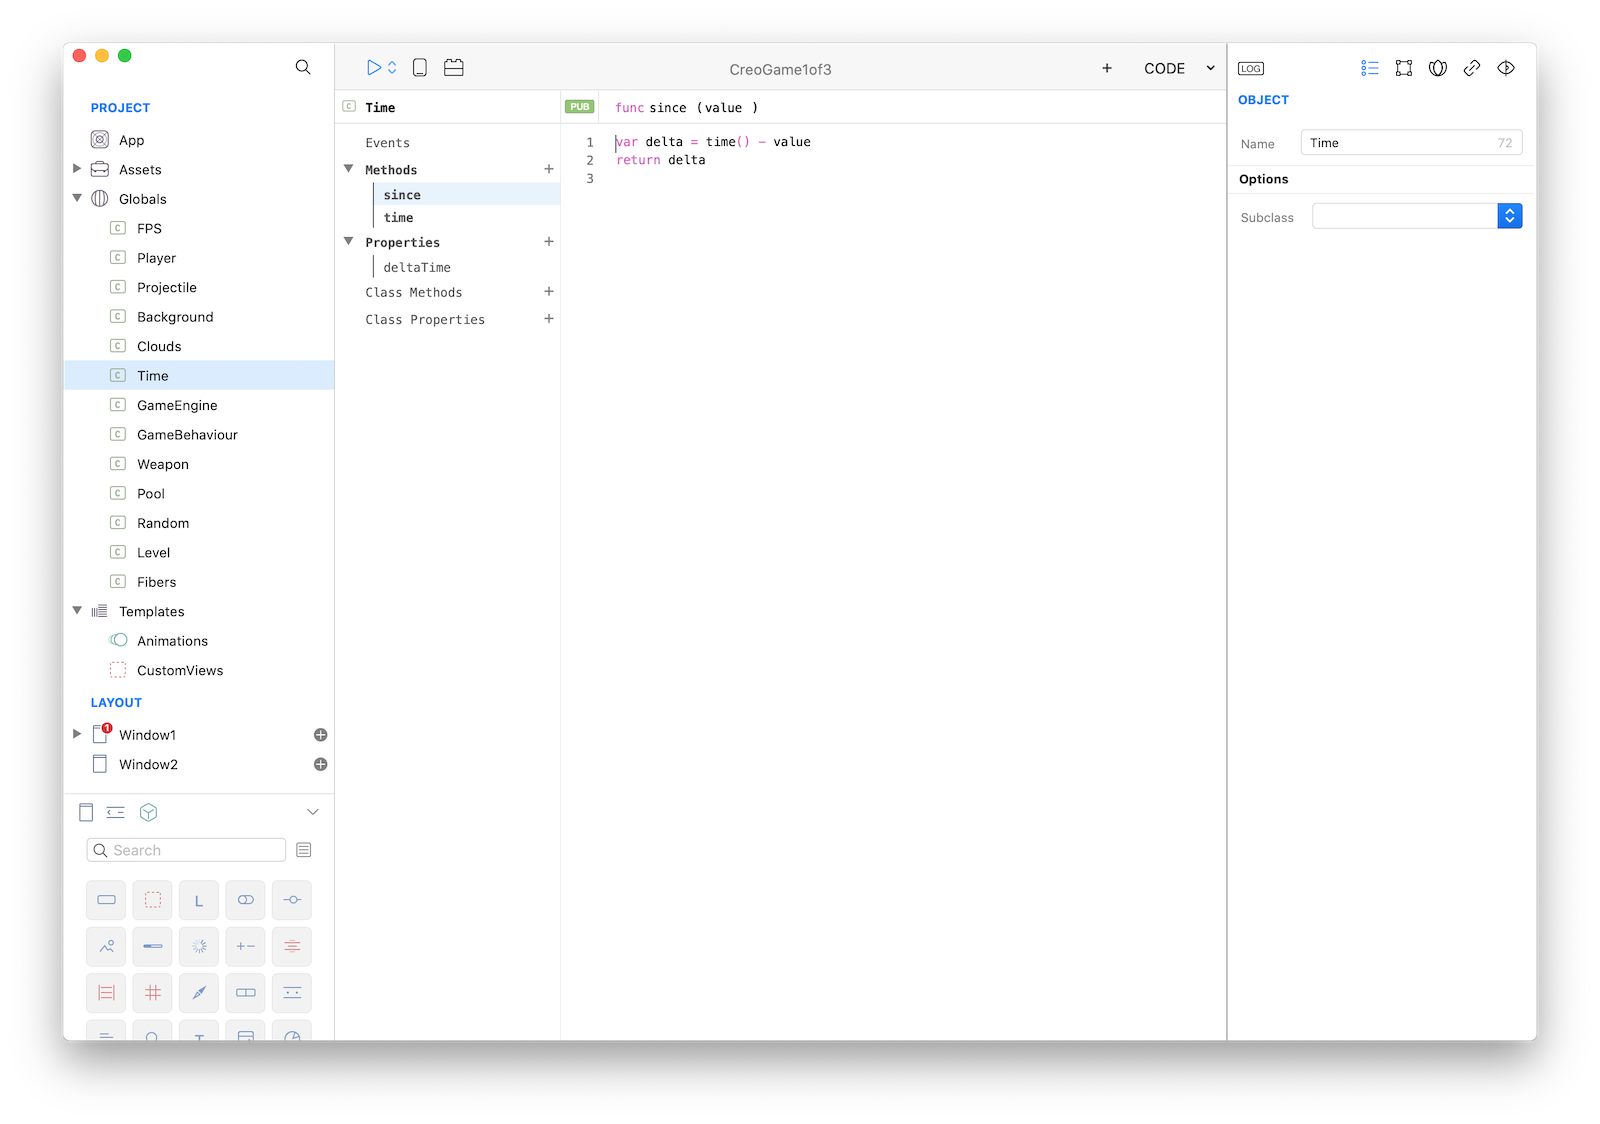
}Time
For keeping a smooth experience for the player the time in seconds it took to complete the last frame is available with time.deltaTime:
class Time {
  public var deltaTime=0.0;
  func since(value) {
    var delta = time() - value
    return delta

  }
  func time() {
    return System.nanotime() / 1000000000.0
  }
}
Use this value to make your game frame rate independent:
class ExampleClass : GameBehaviour {
public var direction=Point(0.0, -1.0);
func update() {
var x = location.x + direction.x * time.deltaTime
var y = location.y + direction.y * time.deltaTime
location = Point(x, y)
}
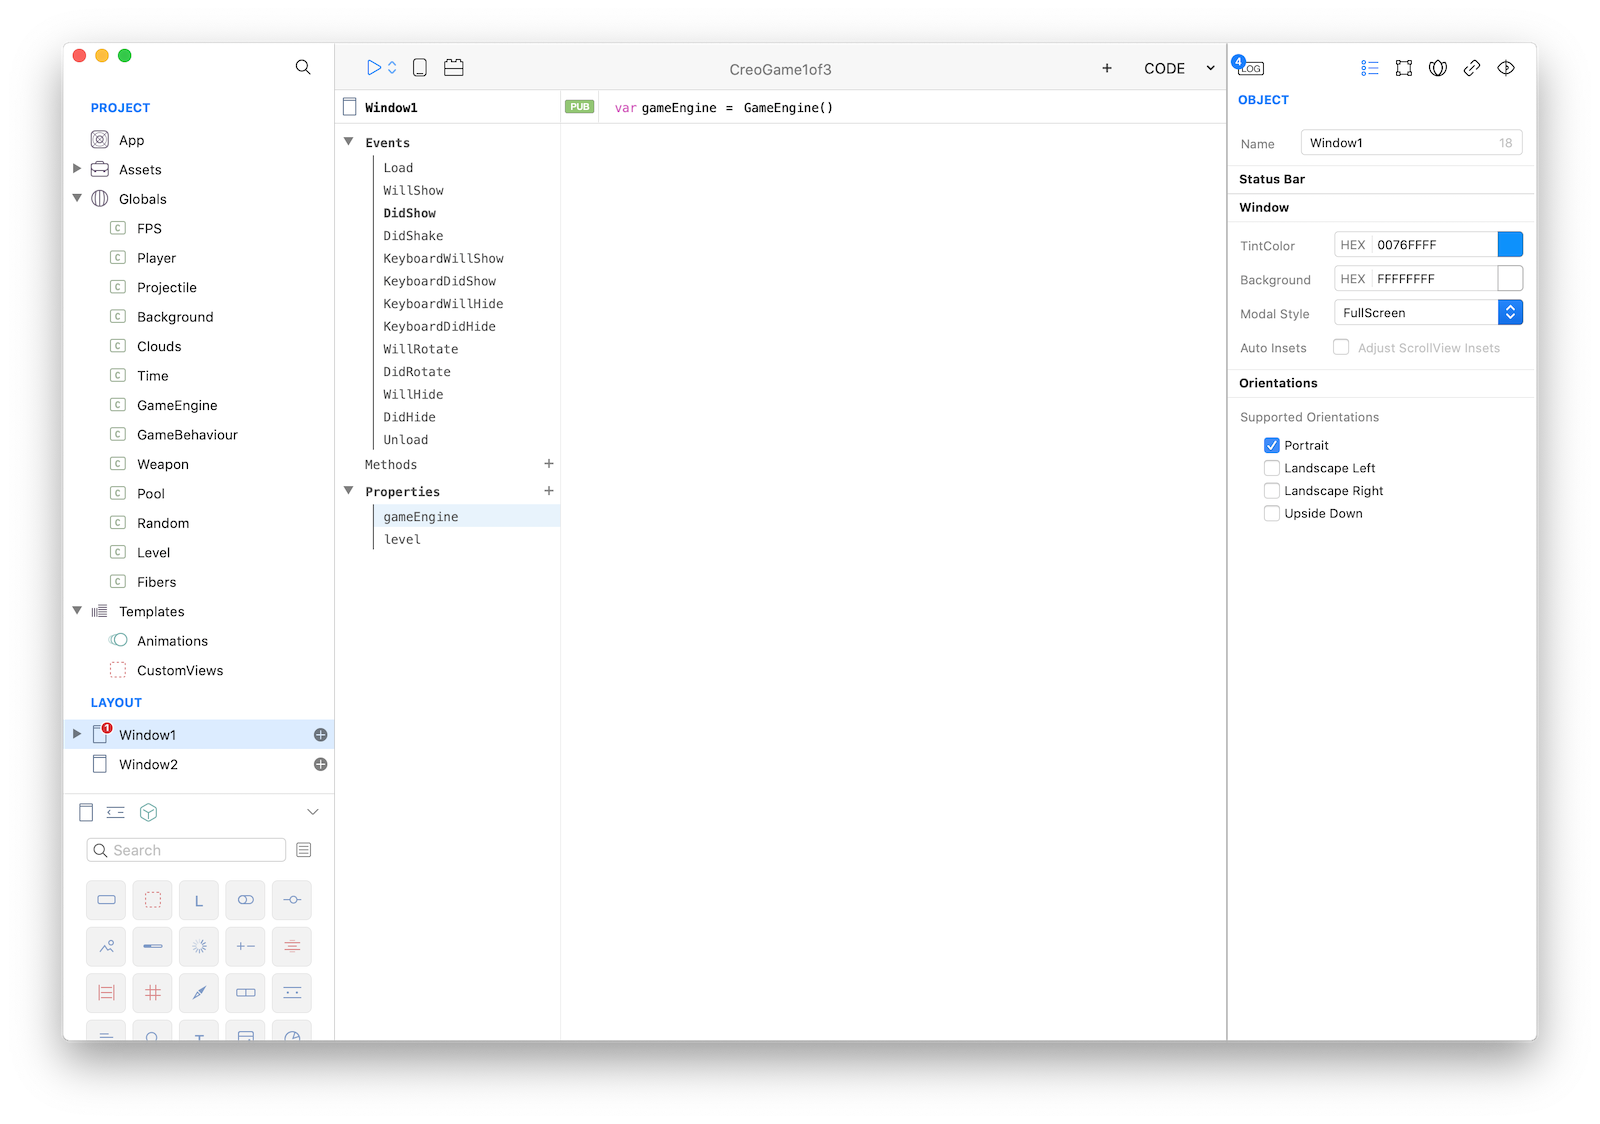
}GameEngine instance in Window1
Add a new property gameEngine to Window1 and set its initial value to GameEngine():
GameBehaviour: Background and Level
- Create a 2 new classes, name it
LevelandBackground; both subclassGameBehaviour. - Add a
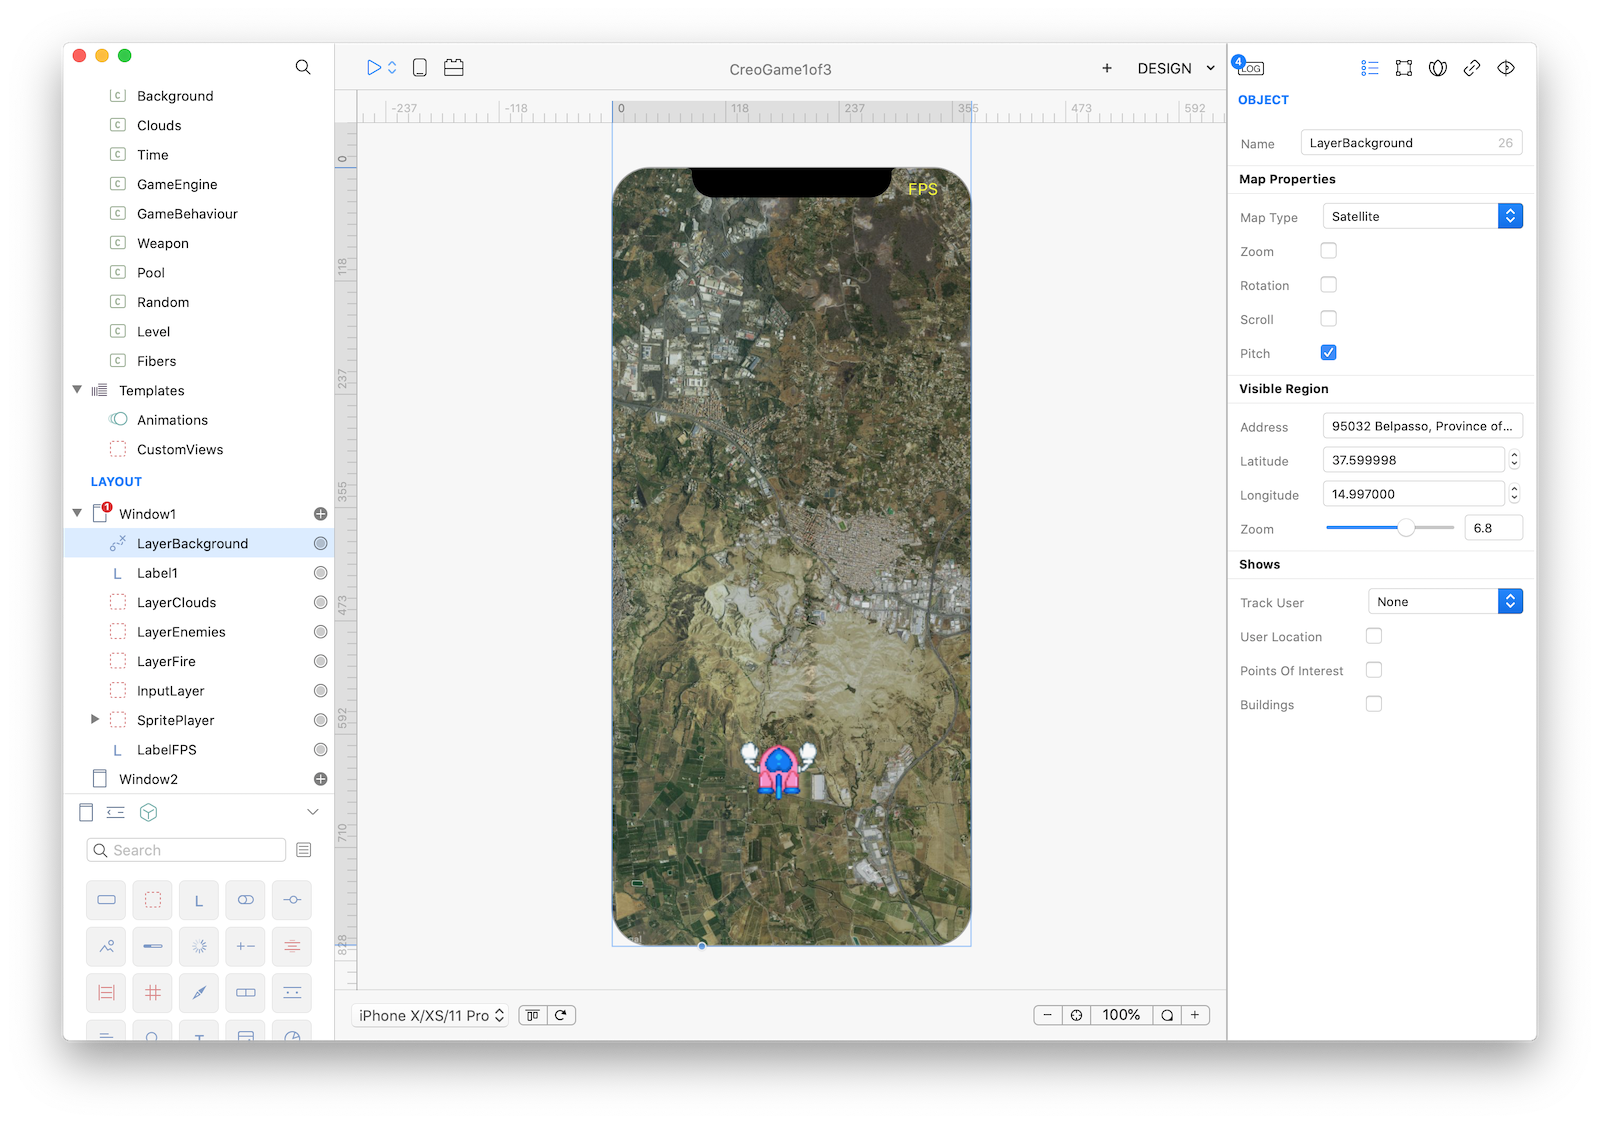
MapViewname itLayerBackground; from the inspector configure the map:
- set constraints to fill the whole window space
- disable user interaction
- set
Satellitemap type and zoom level to 6.5 (the closer to street level the faster it scrolls) - pick an address; this is going to be your game background so any some fancy location will work
- Add
gameEngine.addInstance(Level())in you WindowDidShowevent.
class Background : GameBehaviour {
public var speed=0.0015
func start() {
view = Window1.LayerBackground
}
func update() {
view.latitude = view.latitude + speed*time.deltaTime
}
}
class Level : GameBehaviour {
func start() {
engine.addInstance(Background())
}
func update() {
}
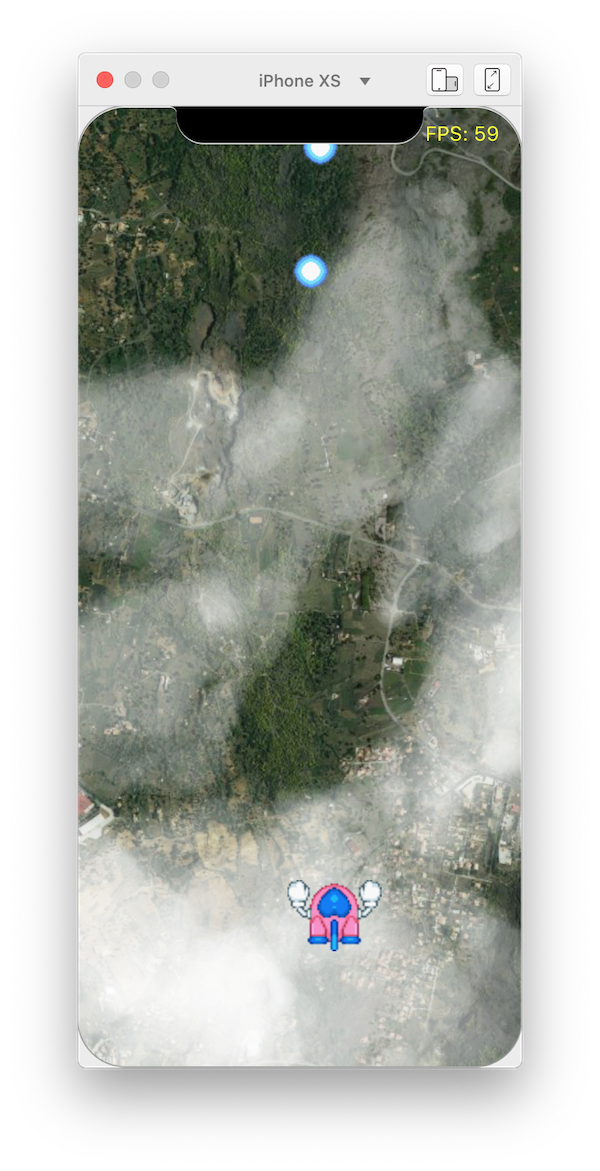
};Play Run, if everything is correctly configured you should see the MapView scrolling.
Well done! you have your first GameBehaviour properly receiving updates from the GameEngine.
Next tutorial: player ship, generated background and fire pool! The final game will look like this:
Project
- GameEngine1.creoproject (2.3MB)