Window
A Window presents and manages a hierarchy of views and controls. Each Window owns a portion of your app’s user interface. For example, one Window might display a table of items while a different Window displays the selected item from that table. Usually, only the views from one Window are visible at a time. A Window can be presented by another window as a modal window or inside a window container.
How to use
- Select an item in the layout panel where you want to add the new
Window. If the selected item is a window container, the newWindowwill be created inside the container. If you select aWindow, the newWindowwill be created in the same container as the selectedWindow. If you don’t have any item selected, the newWindowwill be created at the root level. - Add a new
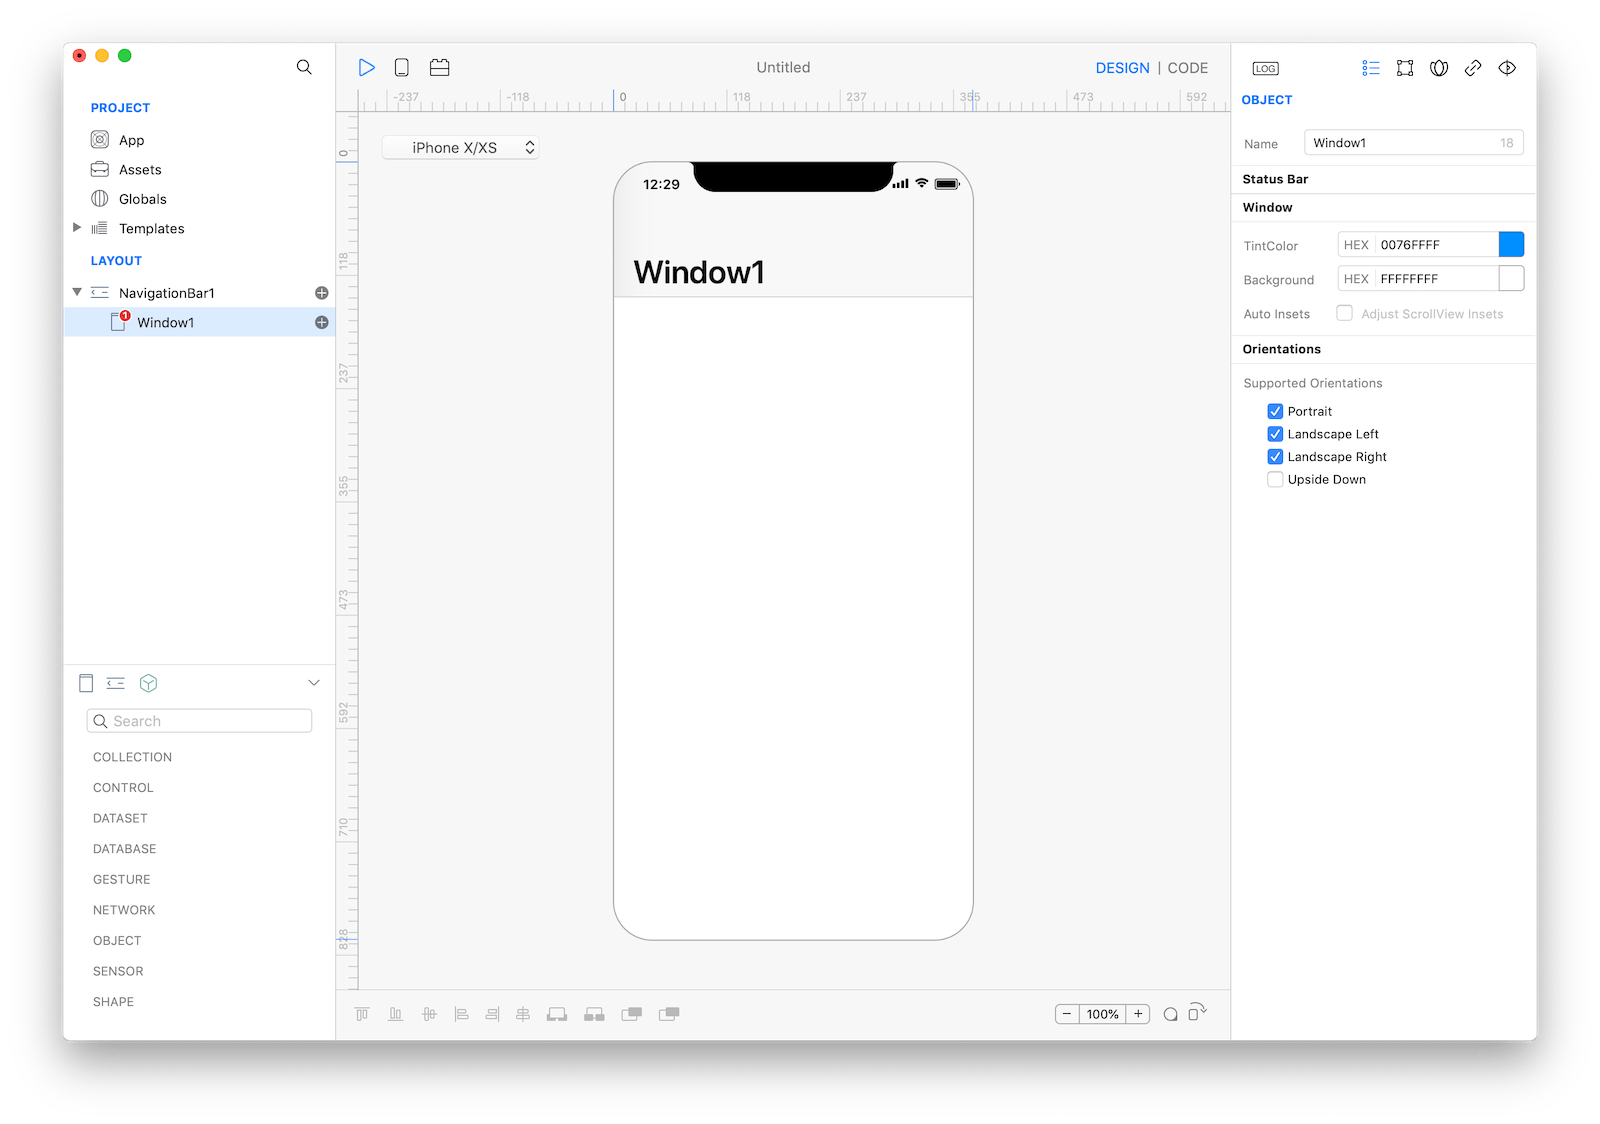
Windowwith the new window button in the containers panel located below the Layout section (see the following screenshot). - Use the
Window Inspectorto customize its properties likeBackground Color,Tint Color, andSupported Orientation.
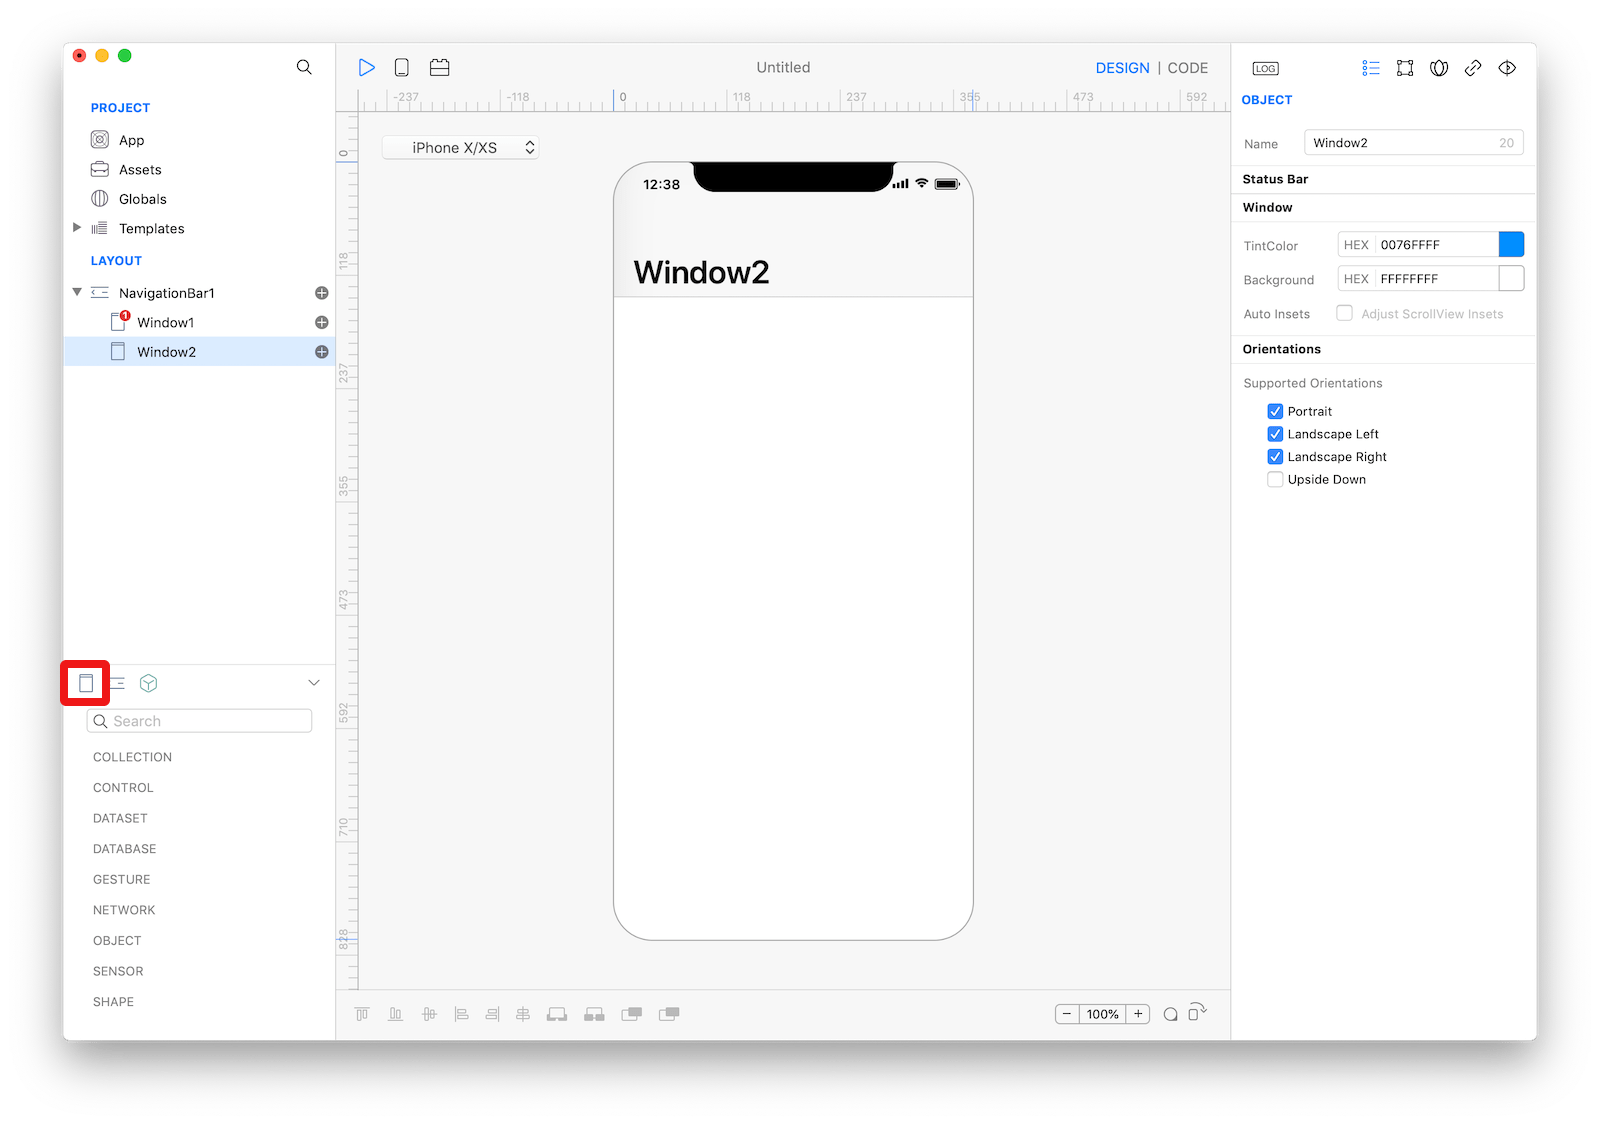 How to create a new Window.
Events
Load,Unload: use these events to customize properties of theWindowwhen the object is created.WillShow,DidShow,WillHide,DidHide: use these events to customize the content of theWindow, all the content of theWindowis loaded when these events are called (ref: Availability section).KeyboadWillShow,KeyboadDidShow,KeyboadWillHide,KeyboadDidHide: use these events to update the interface of theWindowin response to the appearing/disappearing of the keyboard, for example Scrolling interface when Keyboard appears.DidShake: receives a notification when the user performs a shake gesture.
Open a Window
Windows can be accessed in Gravity through a variable with the name of the Window which is unique in the project. Windows are globally defined and are created during the App startup process. A Window instance can be used anywhere and anytime from Gravity code.
A window can be programmatically opened using one of the following methods of the Window object that you want to open:
- openIn(destination, completion): opens the calling
Windowin the specified destination. If the destination is aWindow, the callingWindowis presented modally with the default transition. If the destination is a window container (NavigationBar,TabBar,PageSplit,PageCurlorPageSplit), theWindowis presented by the destination's specific implementation of theopenWindow(window, closure)method. If the destination object is not contained in the currently presented stack of windows/containers, theopenInhas no visible effects until the destination object is presented on screen. The completion closure parameter is optional. - open(completion): opens the calling
Windowin the current top-most container, if any, or as a modalWindowif the currently presentedWindowis the root object or is presented as a modalWindow. The completion closure parameter is optional. - openModal(TransitionStyle, completion): the calling
Windowis presented modally in the current top-most window or container, using the specified transition. The completion closure parameter is optional.
Another way to open a Window is to use the openWindow(window,completion) of an existing container.
If the Window is already contained in the container, the Window is presented by selecting it between the contained windows.
Example
Let's say you have a hierarchy like this
- NavigationBar1
  - Window1
If you want to open a Window named Window2 in the current context of your App (in this case, push the Window2 at the top of the stack of the NavigationBar1, with a back button to return to Window1), you can use the following code:
// for example from within the `Action` event of a `Button`
Window2.open()
The same result could be achieved with this code:
Window2.openIn(NavigationBar1)or with this code:
NavigationBar1.openWindow(Window2)If you want to open the Window2 as a modal window instead of as inside the NavigationBar1, use the following code:
// you can use any of the supported transition styles
Window2.openModal(TransitionStyle.Default)
Customization
The appearance of a Window can be customized based on where it will be presented.
If the Window is presented inside a NavigationBar, you can customize the items shown in the bar by adding NavigationBar items:
- Press the button (+) near the window's name in the project's layout.
- Choose the desired item to customize from the
NavigationBarsection of the pop-up menu:Title Itemto customize properties likeTitle,Large Title ModeandPrompt. You can add only oneTitle ItemperWindow.Back Itemto customize the properties of the back button presented when theWindowis immediately below the top item in theNavigationBar's stack. You can add only oneBack ItemperWindow.Left Itemto add aBarButtonItemin the left part of the bar.Right Itemto add aBarButtonItemin the right part of the bar.
- Use the
Inspectorof the selected item to customize its properties.
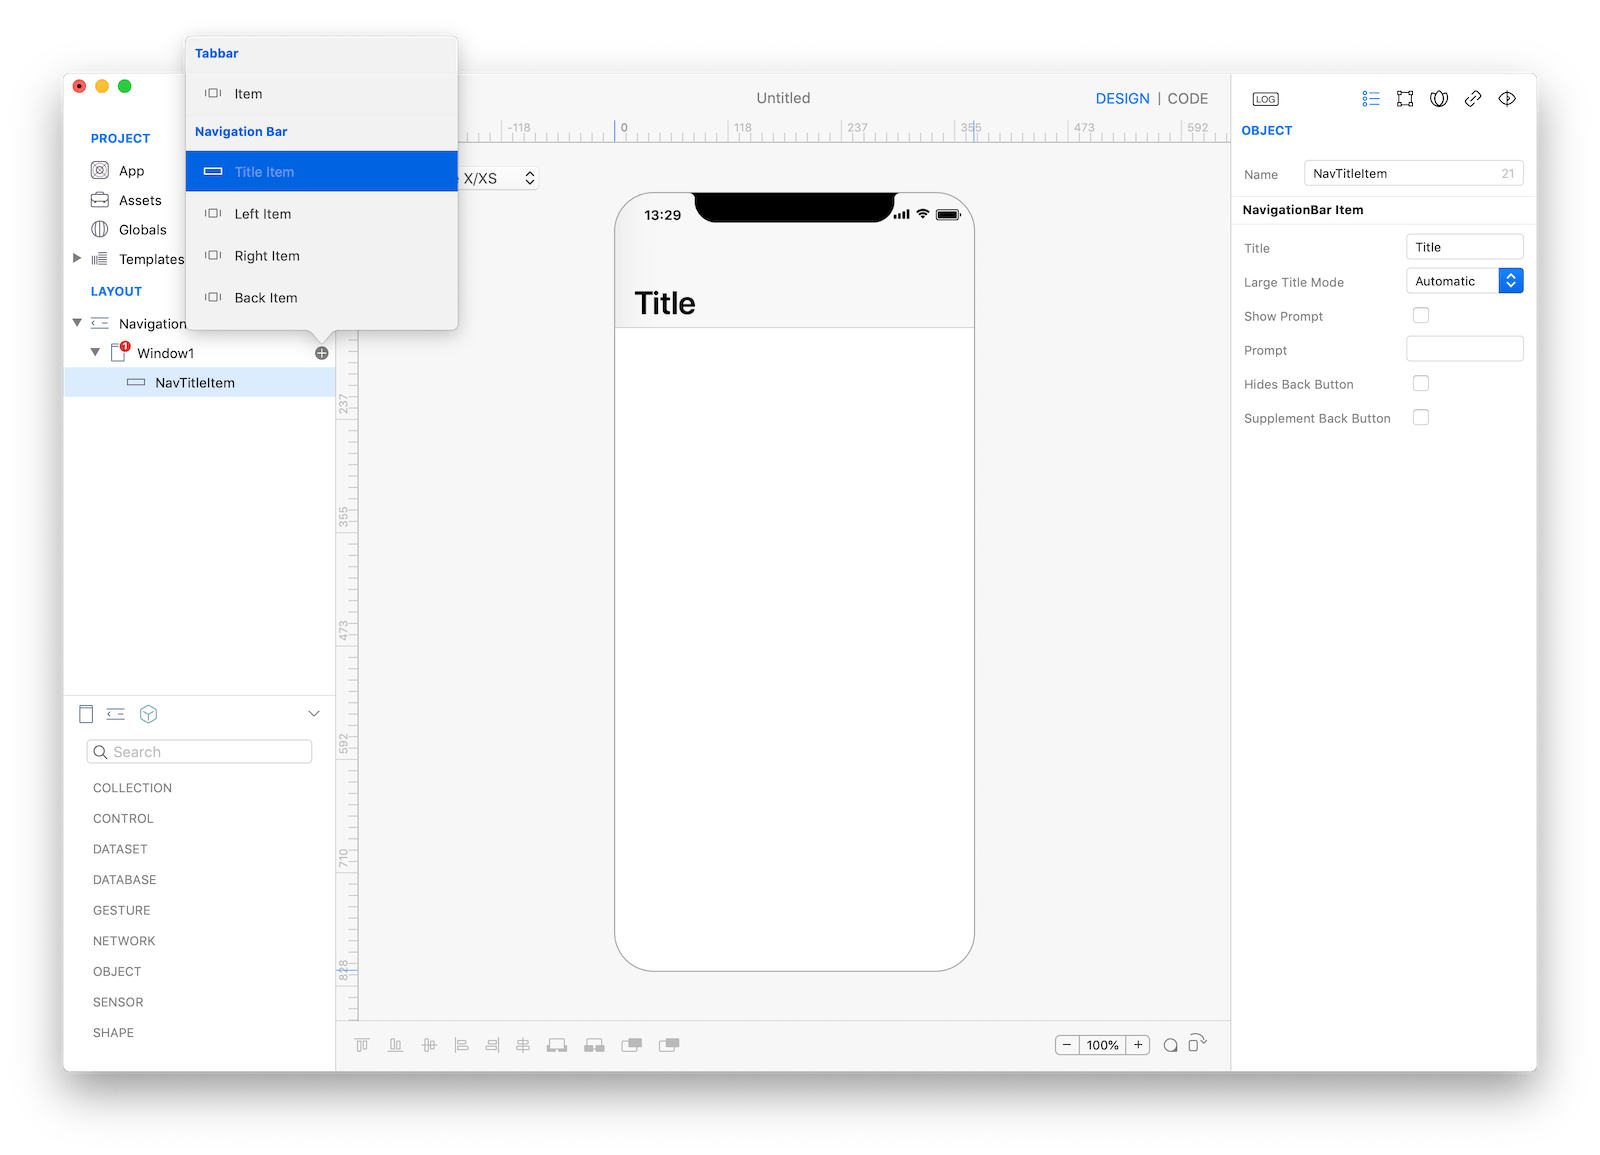 How to customize a NavigationBar item.
If the Window is presented inside a TabBar, you can customize the TabBarItem that represents the Window in the TabBar:
- Press the '+' button near the window's name in the project's layout.
- Choose
Itemvalue in theTabBarsection of the pop-up menu. - Use the
TabBarItem Inspectorto customize its properties likeTitle,ImageandBadge.
Objects
You can add controls, views, databases, gesture recognizers, network objects, sensors, etc. by dropping the desired class from the object panel. For further information on how to add and configure a specific object, please refer to the documentation of that specific class.
Availability
A Window is created during the loading of the App and its properties are immediately configured with the values specified through its inspectors. All its properties and methods can be used anytime inside the App.
Instead, objects added inside a Window (controls, databases, etc.) are loaded when the Window is about to be presented for the first time for efficiency and performance reasons.
For example, if you want to open a Window name Window2 and configure text of a Label named Label1 inside Window2, you should be sure that the Label1 is loaded before using Window2.Label1.text = "New Text".
You can safely use the content of a Window in the following ways:
- in the
WillShoworDidShowevents of theWindow - in the completion closure of the open methods (see the following example)
func completion() {
    Window2.Label1.text = "New Text"
}

Window2.open(completion)
The open method is executed asynchronously and it returns immediately (that means that it doesn't wait for Window2 to be presented and available). It is not right to write any code that accesses Window2's content immediately after its open method.
The following sequence of steps is performed during the presentation of a Window:
- if the Window's content has not yet been loaded (the first time that the
Windowis presented) all its subnodes are created and added to theWindow. - the
WillShowevent of theWindowis called. - if a completion closure has been set as a parameter of the open method, it is executed.
- the
Windowis added to a view hierarchy and the presenting animation is performed. - when the presenting animation ends, the
DidShowevent of theWindowis called.
For the complete list of the open methods, please refer to the documentation of the Window class and to the documentation of the window containers.
Classes
- Window contains a complete list of properties and methods that can be used to customize a
Windowobject.